Page 8 - 4334
P. 8
LAB № 1
                              GEOMETRIC DRAWING

                Assignment  for  lab:  the  details  type  “shaft”  and  ‘plank”
           drawing and dimensioning.
                Individual problems are given in the tables 1.1 (detail type
           “shaft”) and 1.2 (detail type “plank”).
                All sizes of the shaft, presented in the table 1.2, have to be
           multiplied by 3 for the rational drawing sheet usage.
                Plank countour has to be drawen fitted to the 5x5 mm grid.
                A4 (210x297mm) sheet is used for drawing. Samples of the
           lab performing are presented in figures 1.1 and 1.2.
                     Metodical recommendations for lab performing
              Drawing begins with the new file creation.
              The main types of KOMPAS Graphic system documents are:
              -    drawing (*.cdw)- standart formatted sheet of paper with
                   view, title blocks, technical requirements, surface texture
                   symbols, etc;
              -    fragment (*.frw)- unlimited sheet without sketch objects;
              -    text documents;
              -    specification,
              -    3d model (m3d)- spatial model of the detail;
              -    Assembly (a3d).
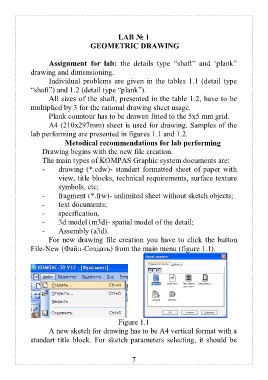
                For new drawing file creation you have to click  the button
           File-New (Файл-Создать) from the main menu (figure 1.1).


                                      Figure 1.1
                A new sketch for drawing has to be A4 vertical format with a
           standart title block. For sketch parameters selecting, it should be


                                          7

